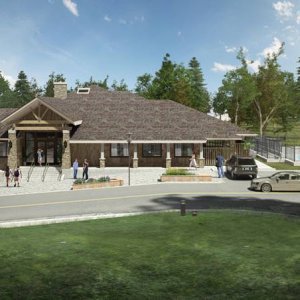
hnn-axis-recreation-building-exterior.jpg
Posted by 3DA Studio on 12/08/2020
HNN Axis recreation building.
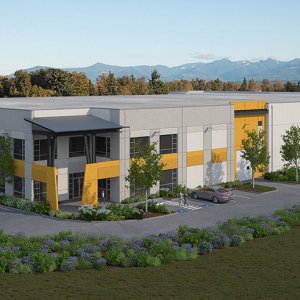
fennel-creak-distribution-center-exterior-rendering-2.jpg
Fennel Creek Distribution Logistics Center
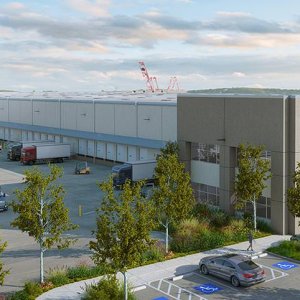
blair-distribution-center-rendering.jpg
Blair distribution and logistics center.
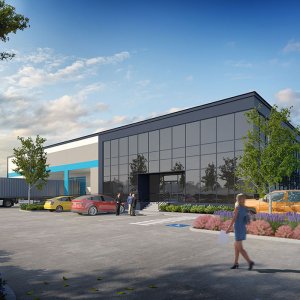
1415-maple-renton-rennovation-rendering.jpg
Office and manufacturing building.
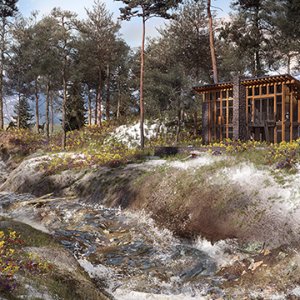
Butterfly Cabin (Exterior)
Posted by iulia.korr on 06/01/2017
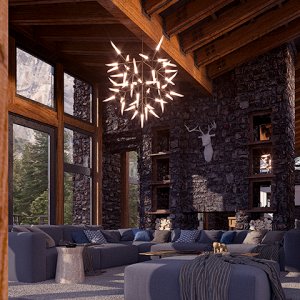
Butterfly Cabin (Interior)
Butterfly Cabin Exterior
Posted by Dreja on 05/31/2017
....and this is my exterior shot...I know that there are tons of mistake..but...i must respect the deadline...cheers
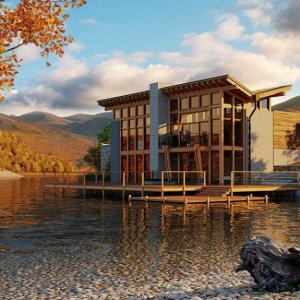
The Butterfly Cabin
Posted by FAZ on 05/31/2017
The Butterfly cabin Proposal Felipe Araya
Save